
Bollywood never received so much attention from Kodi developers as now. Since 2016 have popped up numerous Addons, and this is a tutorial on How to Install Movierulz Kodi Addon, one of the most recent one…
Movierulz is a movie addon from Reasons repository. The addon majors on Bollywood and Hollywood movies from the year 2016 to 2019. Each movie category is grouped in terms of the release year to make navigation easy. If you are a fan of Indian movies, then this is the addon that shouldn’t miss on your Kodi. In our guide today, we’ll show you how to Install Movierulz Kodi Addon in just a few minutes.
Before you install…
Before you install Movierulz, it’s important to understand that this is not an official Kodi addon. Third-party Kodi addons have in the recent past been a target of copyright agencies since they facilitate access to pirated content. While we do not promote the consumption of such content, we advise you stay safe the whole time.
The only way to do that is by using a Virtual Private Network (VPN). A VPN encrypts your traffic and then securely tunnels it to a server of your choice. This new server spoofs your IP address to give you a new online identity.
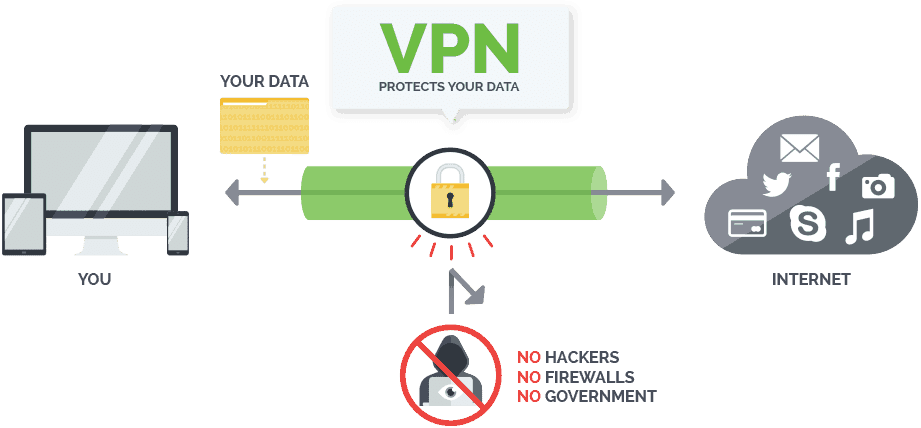
The best VPN for Kodi at the moment is Surfshark. The VPN offers the best solid privacy and security in the market, and it’s also super-fast. It is also registered in a friendly region and doesn’t keep any logs. Luckily, we have managed to get a 82% for all our readers, and you can take advantage of it to stay safe whenever using Kodi.
Save 82% of Surfshark now!How to Install Movierulz Kodi Addon
With Movierulz being a third-party Kodi addon, we need to install it from reasons repository. To do that, you first need to allow your Kodi to run “apps from unknown sources.” You can do this by going to Addons> Settings> Enable Unknown Sources
After that, you can then install the repo and the addon. To make the process simpler, we have divided the process into parts and added screenshots.
Adding the Reasons Repo Source
- At the Kodi home screen, click the Settings button on the top left side to open the System
- Select File Manager, and then double-click “Add-Source.”
- Type the URL http://reasonsrepo.ml/repo into the window that opens.
- Below that, name it as “Reasons Repo” You can then click “OK.”

Installing Reasons Repository
- At the Kodi Home screen, click “Add-ons” from the left side menu.

- Open the package installer by clicking the open box icon at the top of the menu bar.

- Select “Install from Zip File”

- Select the repo you just added above. It will be displayed as “Reasons Repo”

- Select repository.reasonsrepo-x.x.x.zip

- Reasons Repo should now install. Wait for the installation to complete. You will then receive a notification.
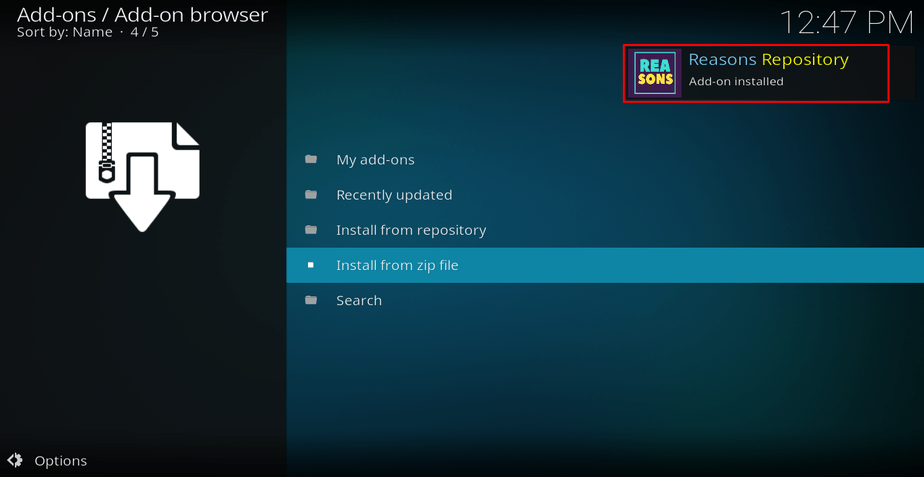
Installing Movierulz Kodi Addon
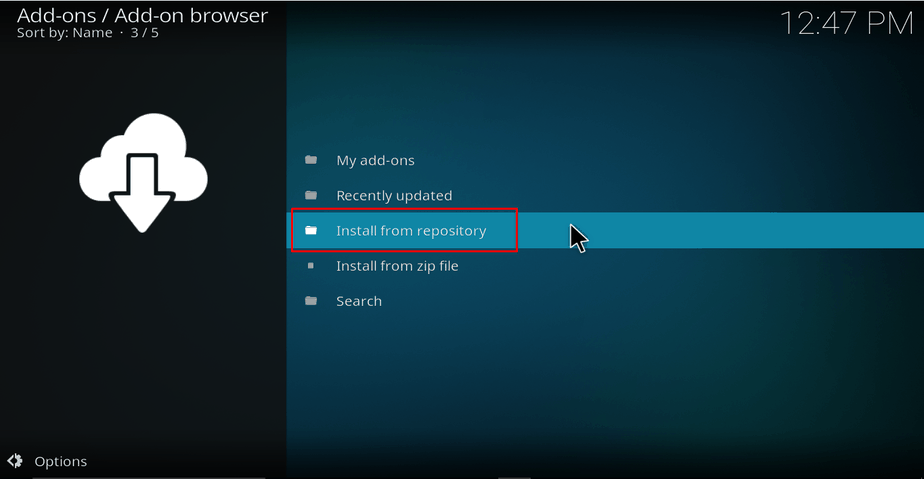
- Now, on the same screen, click “Install from the repository ”
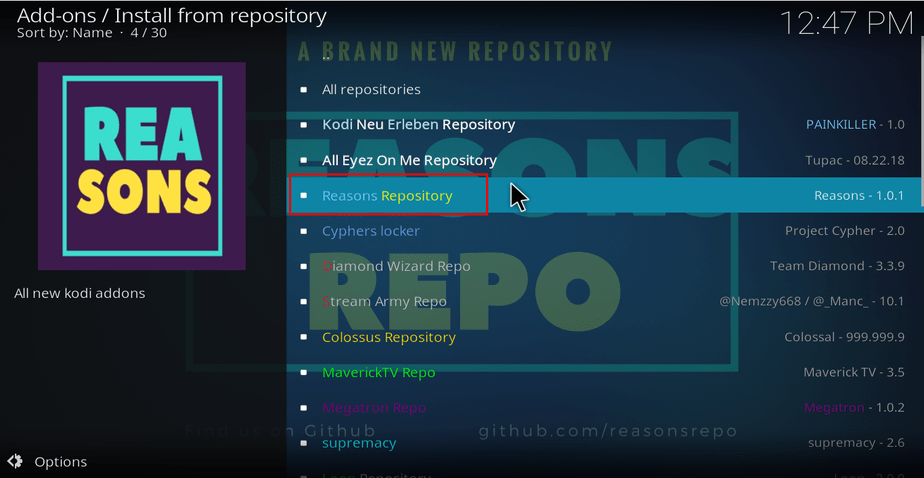
- Select “Reasons Repository”
- Select “Video Add-ons” and then scroll down to Movierulz and click it.
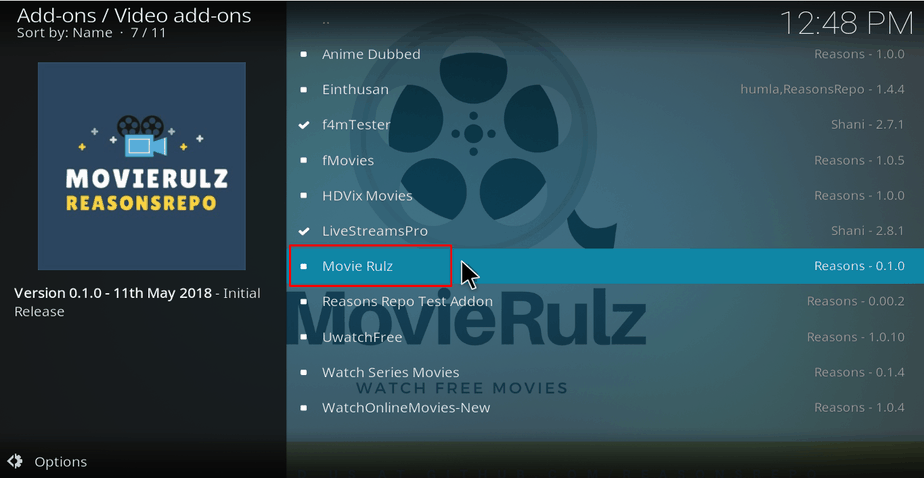
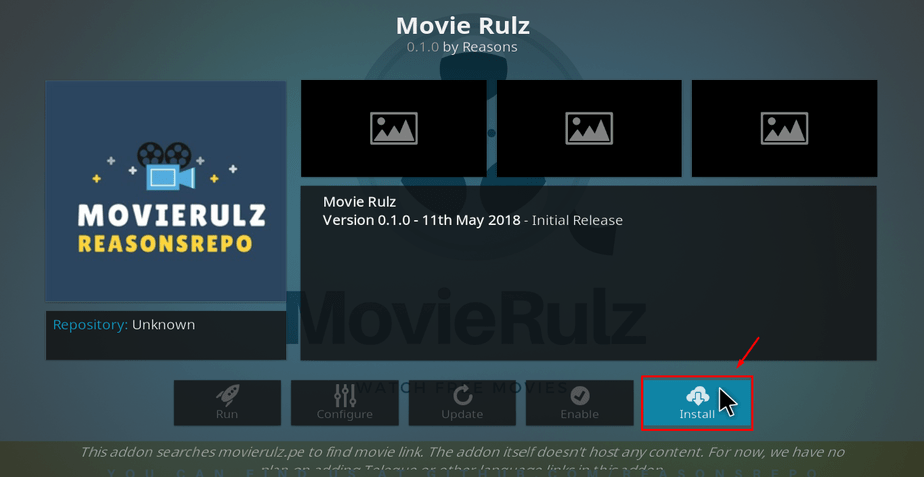
- You will now get an “Install” option. Hit it.
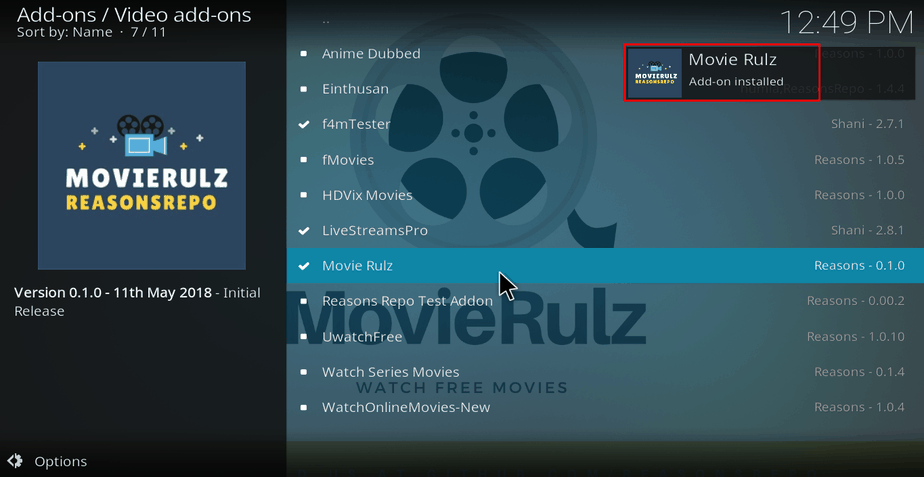
- The Movierulz Kodi Addon will now install. You will get a notification when it’s ready to use.
Wrap up
Movierulz is one of the most recent entry on the Addon list of the addons to Watch Bollywood Movies free. Installing Movierulz addon is easy. However, before you stream anything using the addon, make sure that you turn on your Surfshark app first, and connect to a server (preferably one near you). After that, you can enjoy streaming your favorite Bollywood and Hollywood movies using Movierulz Kodi addon. If you are insecure on the one we’ve suggested, visit our review on The Best VPN services for Kodi, and subscribe the one fitting your needs.
Hope you liked this article on How to Install Movierulz Kodi Addon. If so, please share it with your friends.
Hope to have you here soon!


Leave a Reply